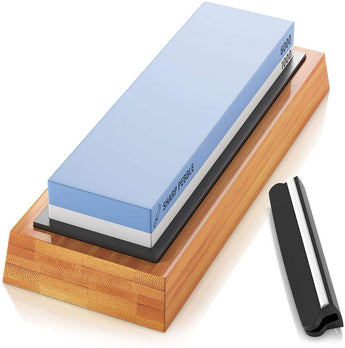
Today we’ll discuss in detail about a process known as “thinning”. Although thinning is an important part of the knife maintenance process, it seems to be a source of confusion for many of us. Today we intend to dispel these confusions and discuss what exactly is thinning, why it’s important and the dos and don’ts of the process.
What Is Thinning
Many people incorrectly confuse thinning with sharpening. Although the same key principles are involved in both processes but the end objective is different. Sharpening actually involves working the business end of the blade, the main edge that comes into contact with the food. Thinning involves width reduction of the bevel behind the main edge to improve the cutting performance of the main edge.
Why It’s Important
Behind the main edge that does the cutting, the blade progressively gets thicker. The key purpose of this thickness is to provide stability during the cutting process. With continued use and metal removal from sharpening/honing the main or primary edge gets closer to the thicker part of the blade. This affects the knife’s cutting efficiency because the closer the main edge gets to thicker metal, the more likely your knife will wedge and get stuck while cutting, even though it might still be sharp.
How It’s Done:
- First, of all, make sure there are no dings or bends in the blade because a crooked blade is much harder to work with.
- Then you need to get an idea of the current thickness of the blade to ascertain how much thinning is needed. This can be done in several ways. You can hold the blade up to your eye line and look behind the blade to ascertain thickness or you can pinch the blade and then run your fingers horizontally across the blade from top to the edge.
- Usually, it’s ideal to thin about 1/3 of the way up from the main You can use a marker to make it easy to visualize the area.
- If you’re just starting out with thinning it’s better to get used to it on a medium grit whetstone, such as 800. As you get used to it, you can move on to a coarser grit sharpening stone such as 400.
- The thinning angles are a lot less aggressive than sharpening angles are. While sharpening angles are between 15-22 degrees; thinning angles are no more than 2-5 degrees.
- Now slide the blade from tip to base on the whetstone at 2-5 degree angle just as you do while sharpening. Depending on the condition it can take up to 30 minutes. Hold the blade up every few slides to see it's being thinned uniformly from base to tip. Keep repeating until you reach the desired thinness
- It’s important to understand that thinning will scratch the blade, so if you like your knives looking good, we recommend re-finishing on a fine grit knife sharpening stone after thinning is done.
- Thinning should always be done BEFORE sharpening. Which is THIN the knife first, possibly refinish it if you feel to do so then SHARPEN it. If sharpening is done first then thinning process will mess up the edge, there will be a lot of abrasive, mud & sometimes you might end up actually hitting the edge.
So there you have it; another nugget that’ll keep your knife razor sharp for years to come! We’d love to hear from you! Drop us a PM on our Facebook or Instagram. For more useful tidbits on sharpening be sure to visit our blog.


