Sharpening swords is an ancient practice that predates the invention of whetstones, which became popular during the early Middle Ages. The journey of sword sharpening methods offers fascinating insights into the ingenuity of ancient civilizations. Before the advent of whetstones, various materials and techniques were employed to ensure that swords remained deadly and effective weapons in battle.
The Evolution of Sword Sharpening
The history of sword sharpening is closely tied to the history of metallurgy and tool-making. Early humans crafted weapons from materials like stone, bone, and bronze before the widespread use of iron and steel. As metallurgy advanced, so did the need for effective sharpening techniques. The following methods were used by ancient cultures to maintain the sharpness of their blades:
-
Sand and Abrasive Soils: One of the earliest methods of sharpening involved the use of coarse sand and abrasive soils. Ancient blacksmiths would rub the blade's edge against these gritty materials to wear away the dull metal and create a sharp edge. This method was labor-intensive and required a keen eye and steady hand to ensure an even and effective sharpening.
-
Leather Straps and Hide: Leather straps, often embedded with fine abrasive particles, were another common tool for sharpening swords. This technique, known as stropping, involved dragging the blade's edge across the leather surface. The friction generated by the leather helped polish and refine the edge, maintaining its sharpness. This method was particularly popular in ancient Egypt and Mesopotamia.
-
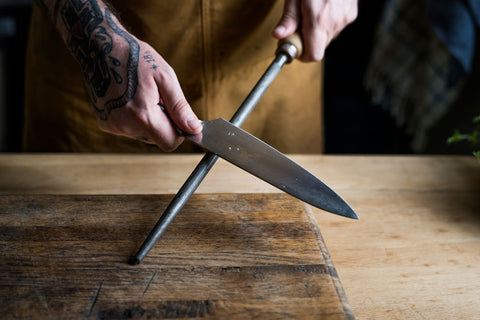
Hard Stones and Rock Surfaces: Before the invention of purpose-made whetstones, ancient warriors and blacksmiths often used naturally occurring hard stones and rock surfaces. Granite, basalt, and other dense, hard rocks provided a rudimentary but effective means of sharpening. The blade was repeatedly drawn across the stone's surface, gradually honing the edge. This method required patience and precision, as uneven sharpening could weaken the blade.
-
Metal Files and Rasps: As metallurgy progressed, the development of metal files and rasps provided a more advanced sharpening tool. These tools, made from harder metals, allowed for more controlled and efficient sharpening. Ancient blacksmiths used files and rasps to grind and shape the blade's edge, achieving a sharper and more durable result. This method became increasingly common during the Bronze and Iron Ages.
-
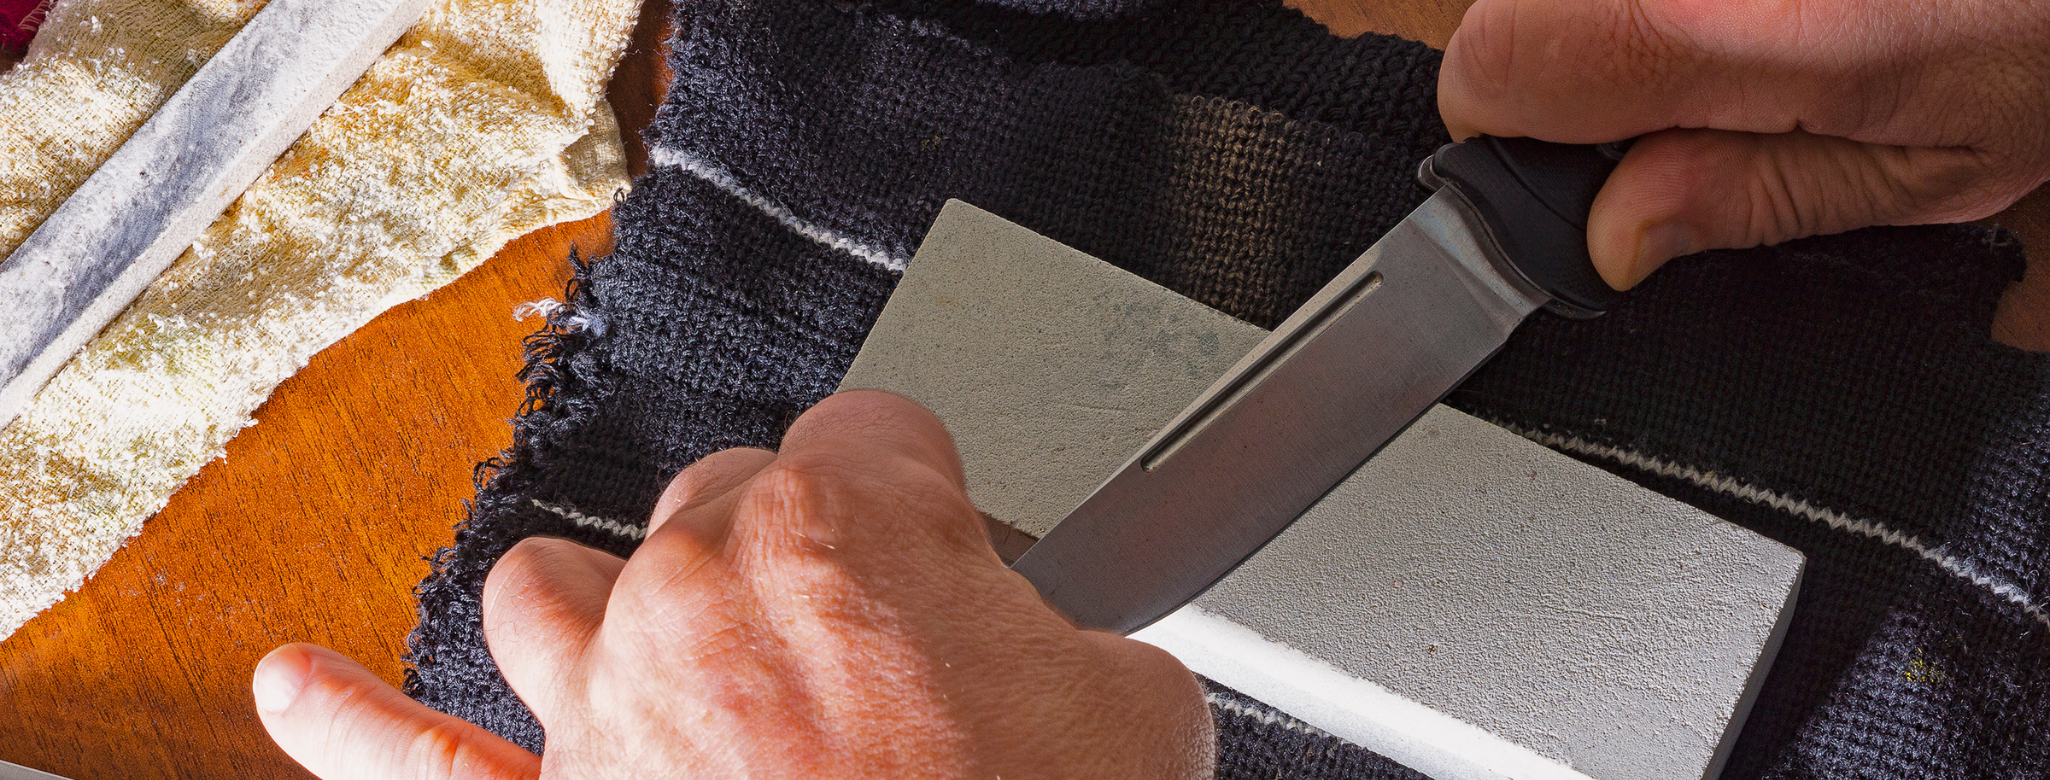
Water and Oil Stones: While not as refined as modern whetstones, early versions of water and oil stones were used in various cultures. These stones, often made from natural minerals like novaculite, were used with water or oil to reduce friction and improve the sharpening process. The liquid acted as a lubricant, helping to carry away metal particles and prevent the stone from clogging.


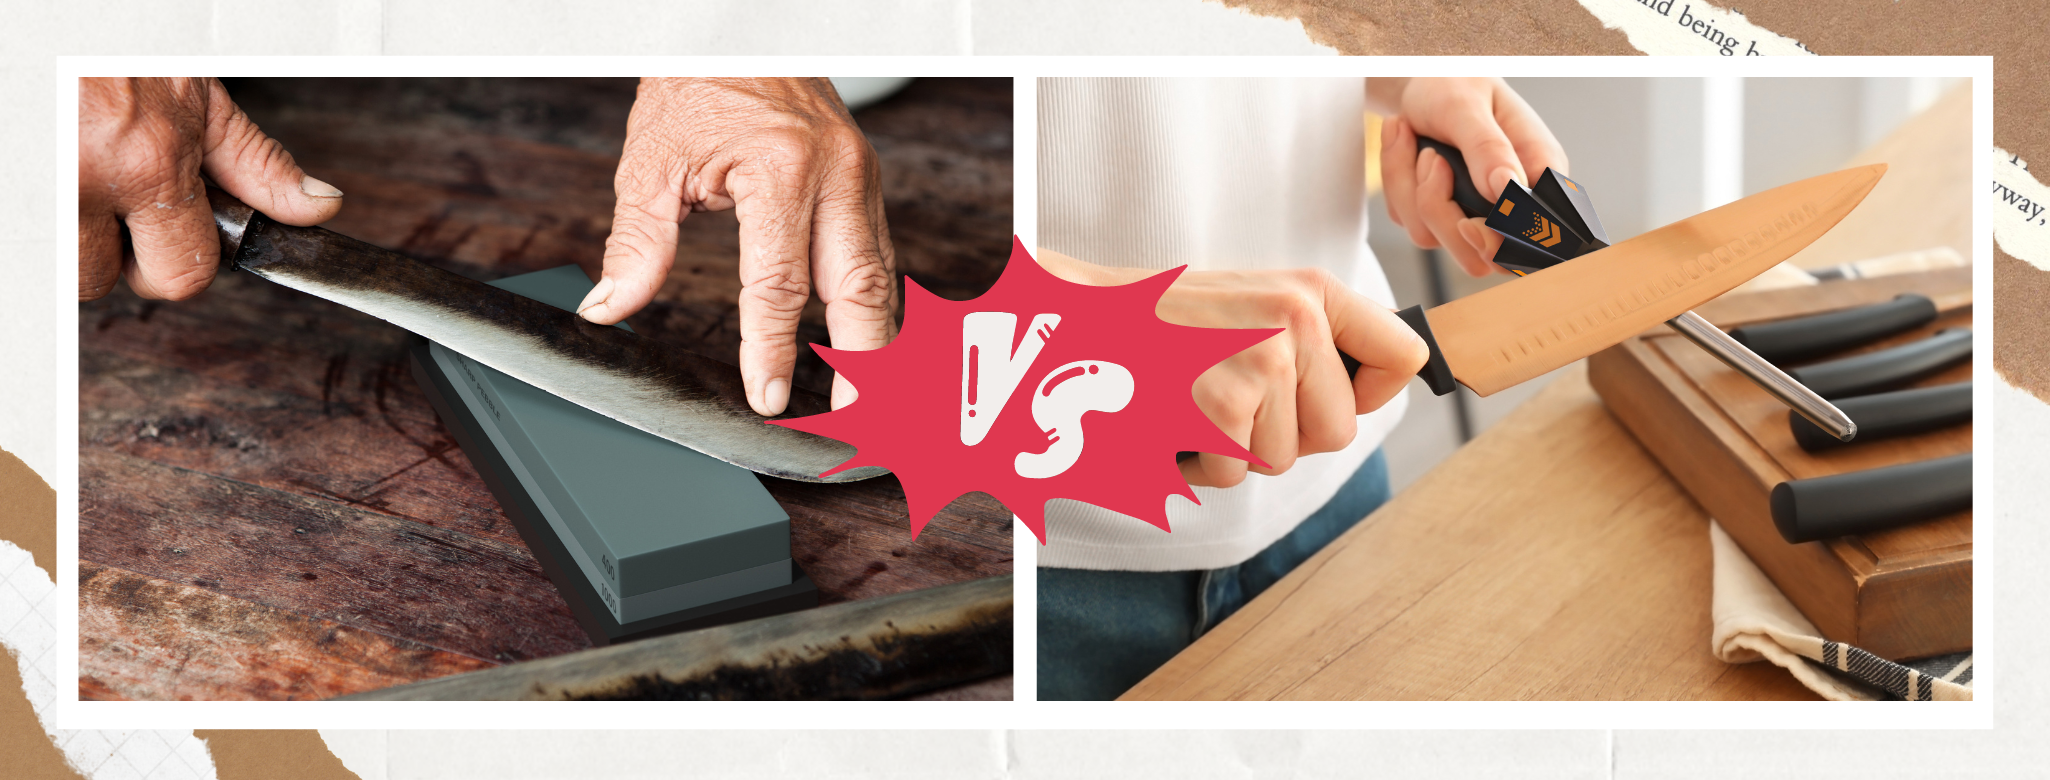


 Cheap is expensive applies quite well when it comes to knives. When you use a cheap dull knife in your kitchen, you are more likely to injure yourself. That seemingly cheap $1 knife can lead to injuries that can set you back a couple of hundred dollars. It’s just not worth it. That said, if you have strong knife sharpening skills, you should be in a position to make even a cheap knife cut like a top-class one worth hundreds of dollars.